
Automailer sends your subscribers a regular digest of your posts automatically. Here's how to set it up in your Publisher Dashboard.
Step 1: Turn On Global Automailer SendingGo to Tools > Automailer. Enable Global Automailer Sending is your on/off switch for Automailer. You can also use it to pause Automailer if you ever need to stop sending emails.
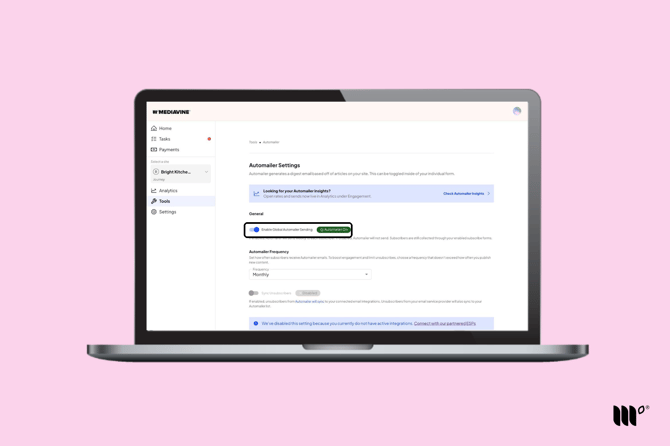
When you turn it on, you'll be asked whether to enable the Automailer List for all subscribers.
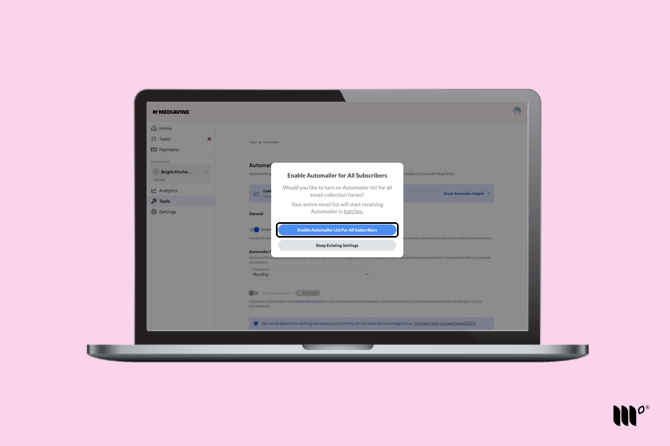
- Enable Automailer List For All Subscribers (recommended): Every subscriber gets Automailer emails, no matter which form they used to subscribe. This includes subscribers from Print Pass and Exclusive Content*. Your existing subscribers are added in batches.
- Keep Existing Settings: Automailer only sends to subscribers from the forms you turn it on for. Not sure yet? Choose this for now. We'll cover how to turn it on for individual forms below.
Automailer Frequency sets how often Automailer emails your subscribers.
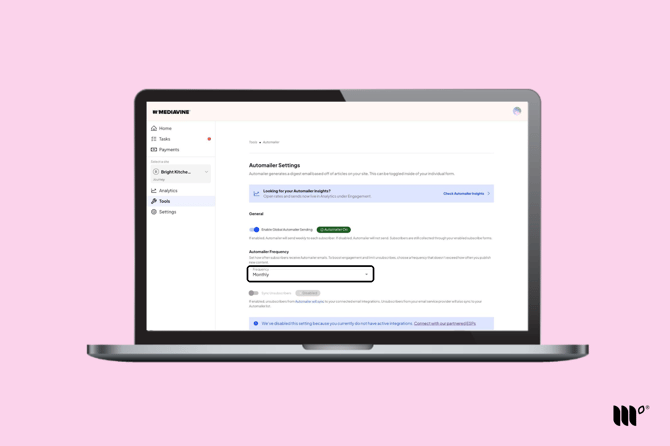
By default, it sends weekly. You can also choose:
- Biweekly (every two weeks)
- Monthly (every four weeks)
- Every 3 days
- Every other day
- Daily
Your frequency also affects the mix of new posts and Recommended Content in each email. For example, if you send biweekly and published 5 new posts in the last 14 days, the email includes those 5 posts and fills the remaining slots with Recommended Content.
Step 3: Set Your Appearance
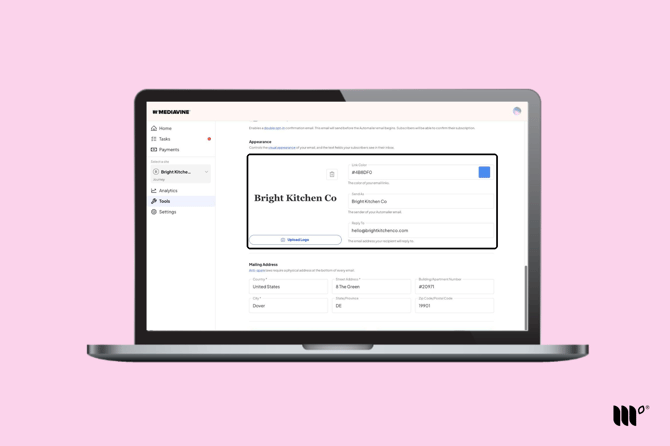
Under Appearance, you can:
- Upload your site's logo
- Choose a link color that matches your branding
- Set who your Automailer emails are sent as
- Add the email address your readers' replies are sent to
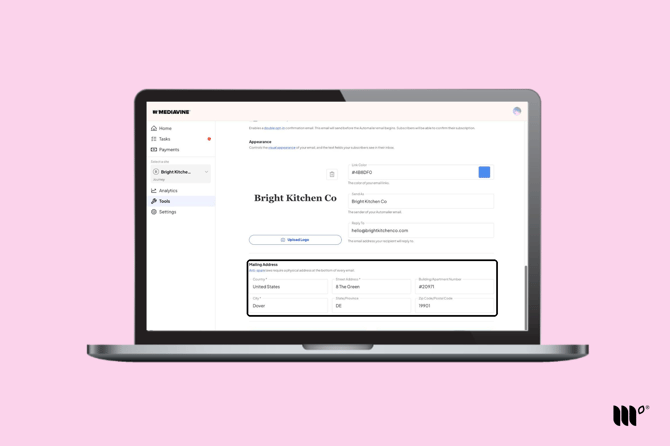
A physical address is required for Automailer to send.
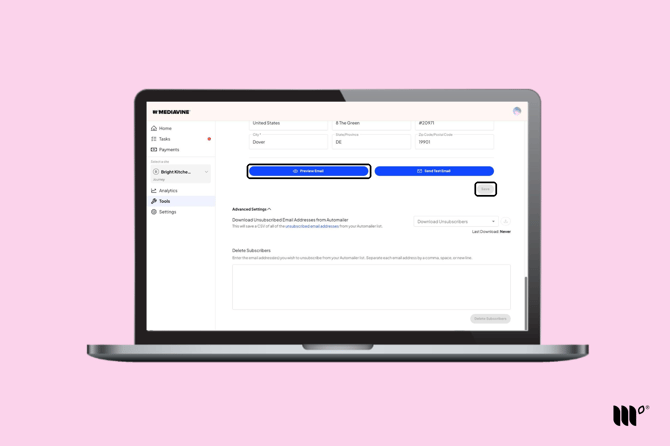
Step 5: Preview Your Email
Click Preview Email to see what your Automailer emails will look like, then click Save.
What's Next?
What you do next depends on the option you chose in Step 1.
-
Enable Automailer List For All Subscribers: You're all set! Automailer emails will now go to all of your subscribers. You can check how they're doing in Automailer Analytics.
-
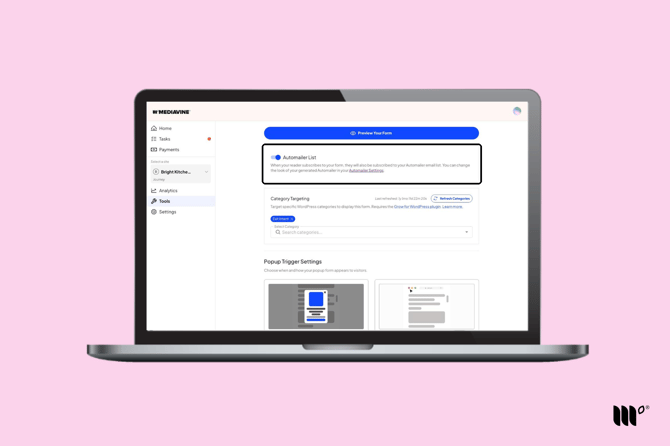
Keep Existing Settings: Automailer only sends to the forms you turn it on for. Once it's on for a form, everyone who subscribes with that form is added to your Automailer List automatically. To turn it on, go to Tools > Subscribe Forms, click Manage Form on a form, and turn on Automailer List.
How Do I Send Automailer Emails to My Existing Mailing List?
If you turned on the Automailer List for all subscribers, everyone who subscribed with one of your Subscribe Forms, Exclusive Content or Print Pass will start getting Automailer emails.
To include subscribers you collected somewhere else, import them into Automailer. Imported subscribers start getting Automailer emails as soon as Automailer is on, so if it's been a while since you've emailed them, consider sending a quick note from your Email Service Provider to let them know they'll be hearing from you again.
Note: Subscribers outside the United States are sent a double opt-in email to confirm they want your Automailer emails.
*Exclusive Content is a legacy tool only available to publishers who used it before Grow became Tools in November 2026.