
Zapier connects thousands of apps, including most Email Service Providers. The Zapier integration lets you send subscribers from your Subscribe Forms, Print Pass, and Exclusive Content* to your Email Service Provider or any other app Zapier supports.
Note: In Zapier, our app is still listed as Grow. Choose Grow whenever Zapier asks you to pick an app.
If you don't have one yet, you'll need a Zapier account. Our Zapier integration is free. Zapier offers a free starter plan, but depending on your usage, you may need a paid Zapier plan.
Use a Pre-Made Zap
The quickest way to get started is with one of our pre-made Zaps.
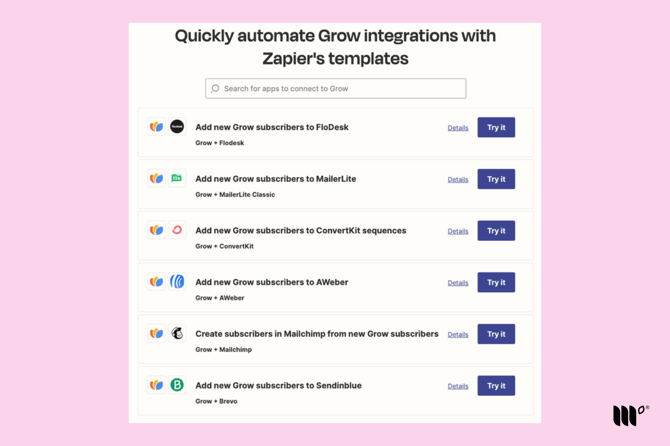
We have pre-made Zaps for:
- ActiveCampaign
- AWeber
- beehiiv
- BirdSend
- Brevo
- CleverReach
- Drip
- FeedBlitz
- GetResponse
- Gravity Forms
- MadMimi
- Moosend
- rasa.io
- Sender
- SendFox
- TinyEmail
Don't see your app? Search for it on our Zapier integration page to use it as the "action," or create your own Zap using the steps below.
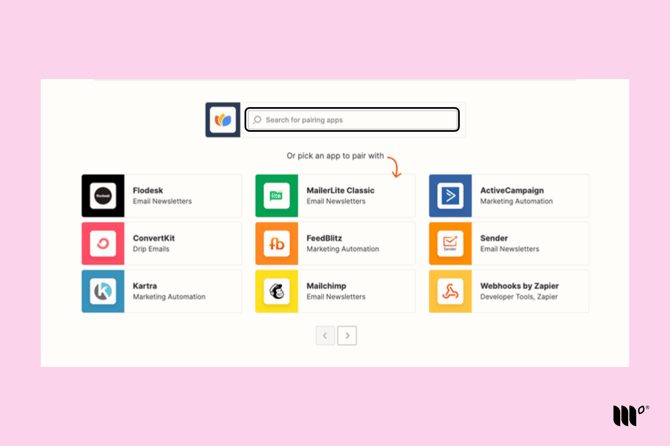
How to Create Your Own Zap
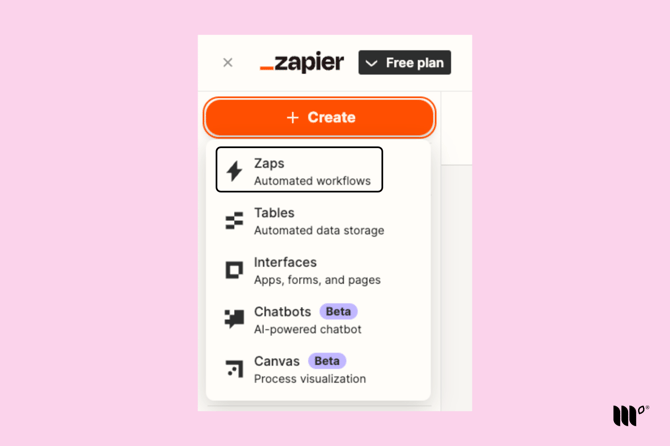
Step 1: Log in to Zapier. On your Zapier Dashboard, click Create, then choose Zap.
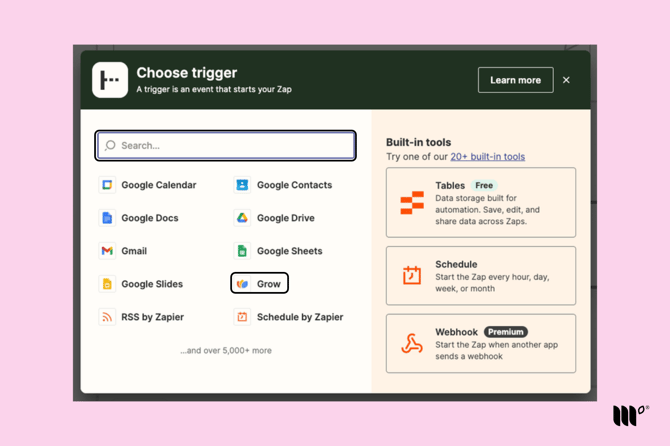
Step 2: In the Zap editor, click 1. Trigger. 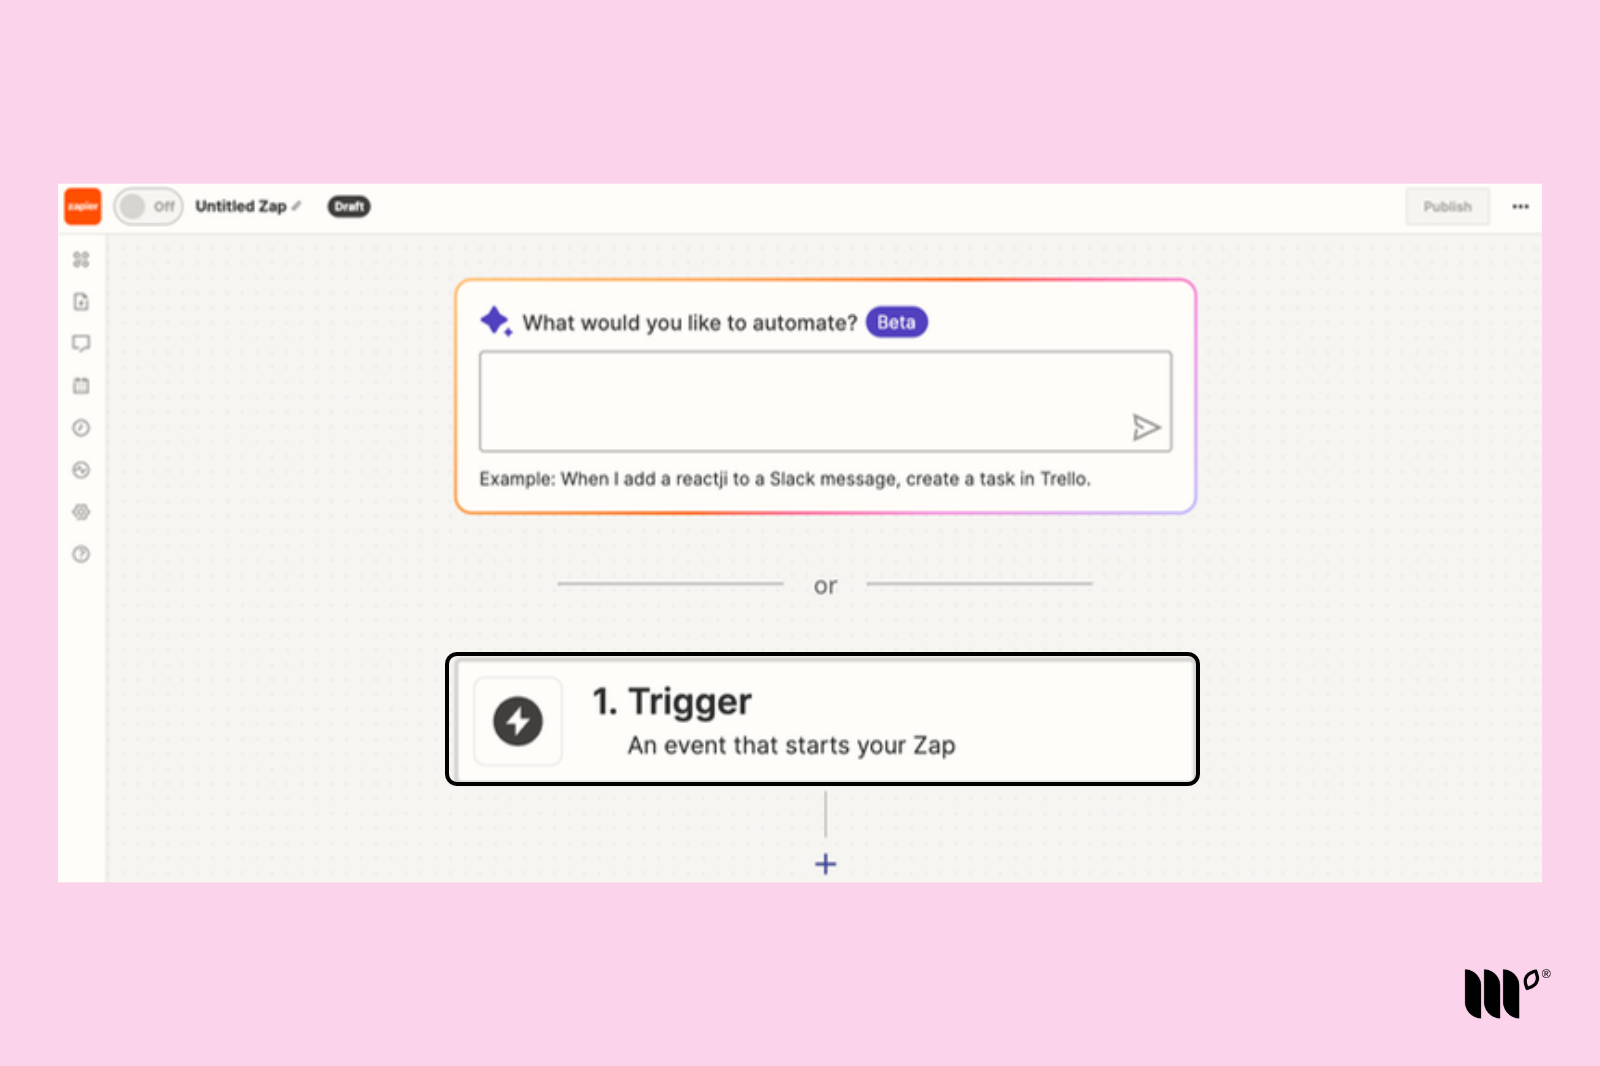
Choose Grow from the list of apps, or search for it.
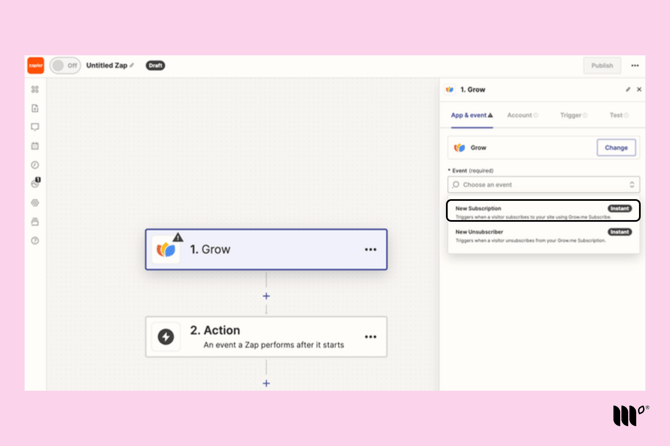
Then choose New Subscription from the Event dropdown menu and click Continue.
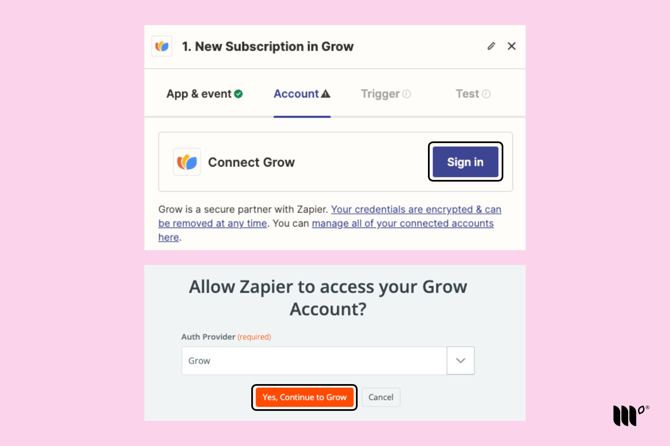
Step 3: If this is your first time connecting Zapier, you'll be asked to sign in and grant Zapier access. At the end of this process, click Grant Permission.
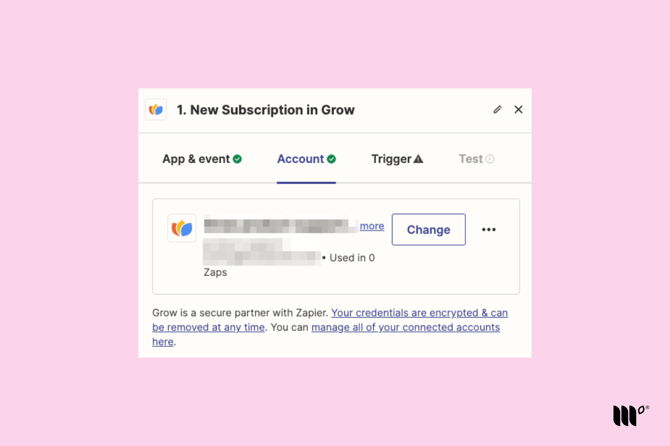
Then choose the account associated with your email and click Continue.
Step 4: Use the dropdown menus to set up your trigger. First, choose your site.
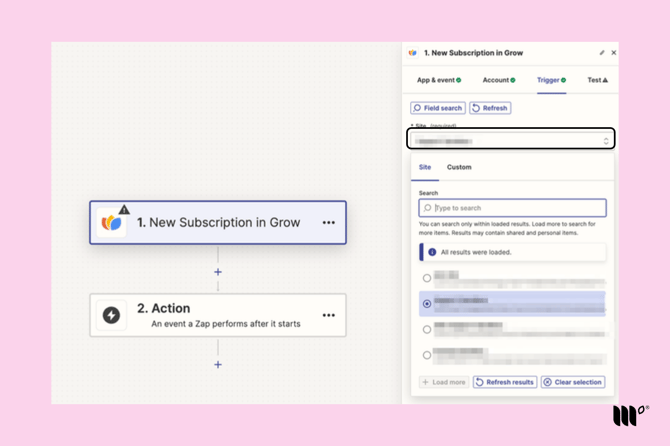 Then choose which tool's subscribers should trigger the Zap, using the instructions for your tool below.
Subscribe Forms
Choose your Subscribe Form(s). You can select more than one form in a single Zap, which is useful if several forms should go to the same place.
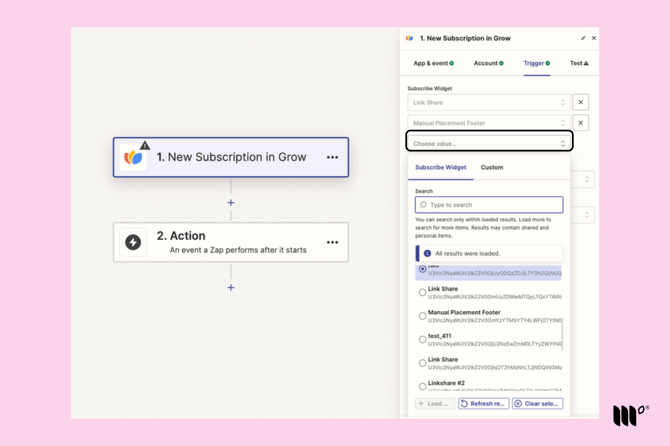
Or set up your trigger by Subscription Source, so every form of that type (for example, all Click to Subscribe forms) gets the same action. Available sources:
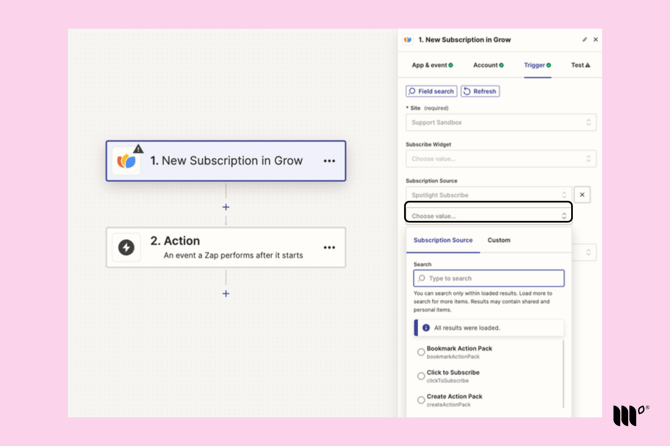
- Click to Subscribe
- Email Link (your Link Share Subscribe forms)
- Manual Placement Subscribe
- Pop Up Subscribe
- Spotlight Subscribe
Exclusive Content*
You can set up Exclusive Content by source or by widget:
- By source: subscribers from all of your Exclusive Content widgets trigger the same action. Click the Subscription Source dropdown and select Exclusive Content.
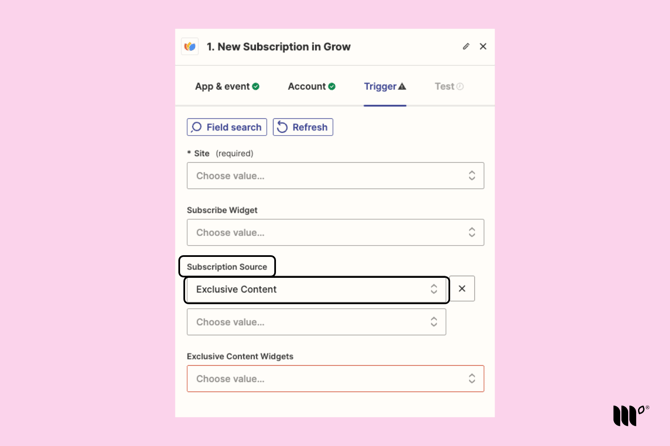
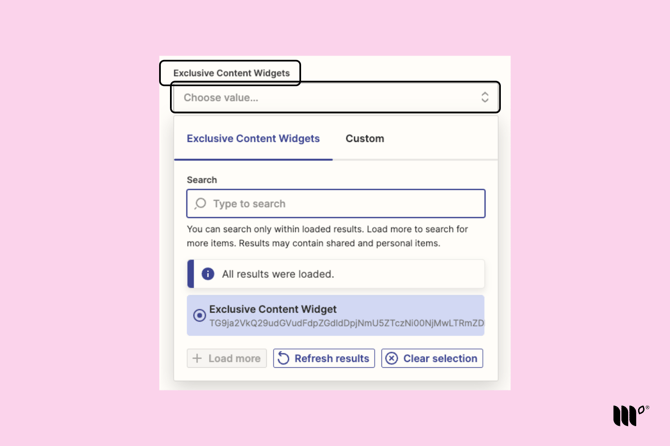
- By widget: only subscribers from one widget trigger the action. Leave the Subscription Source field empty, click the Exclusive Content Widgets dropdown, and select the widget for this Zap. To send different widgets to different places, create a separate Zap for each one.
Print Pass
Select Print Pass as your Subscription Source.
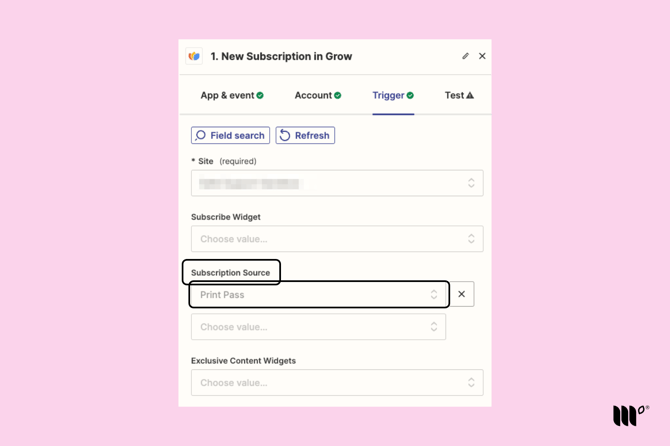
Click Continue once your trigger is set up.
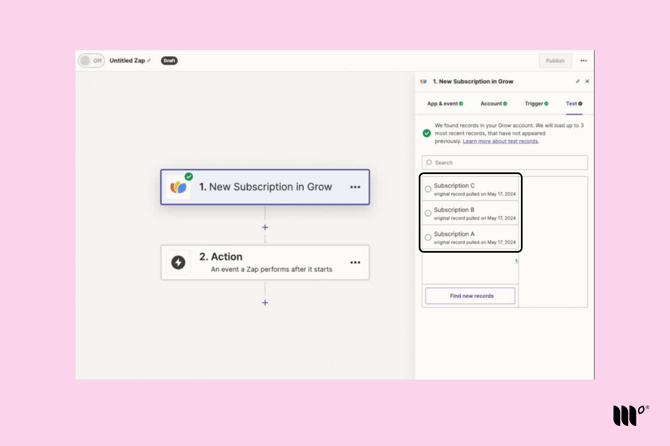
Step 5: Click Test Trigger to make sure your trigger works. Choose one of the subscription records Zapier finds and click Continue with selected record.
Step 6: Choose your action app, which is usually your Email Service Provider.
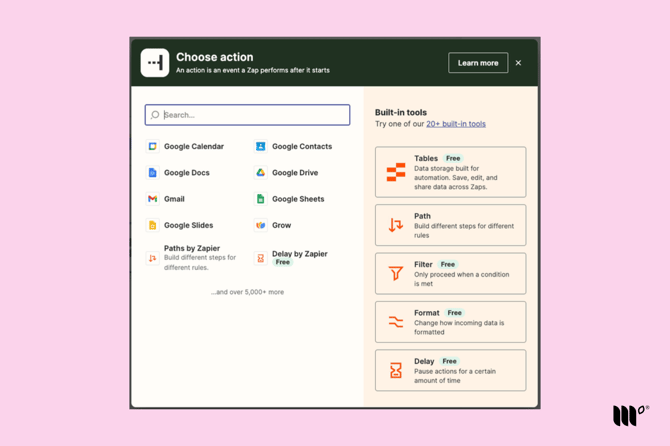
Then choose an app event, such as creating a new subscriber, and click Continue.
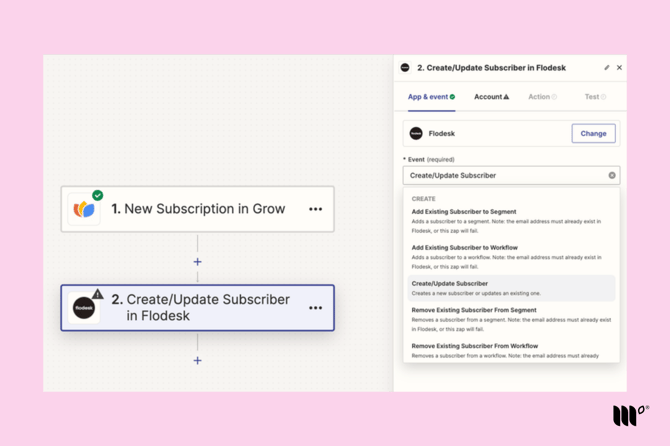
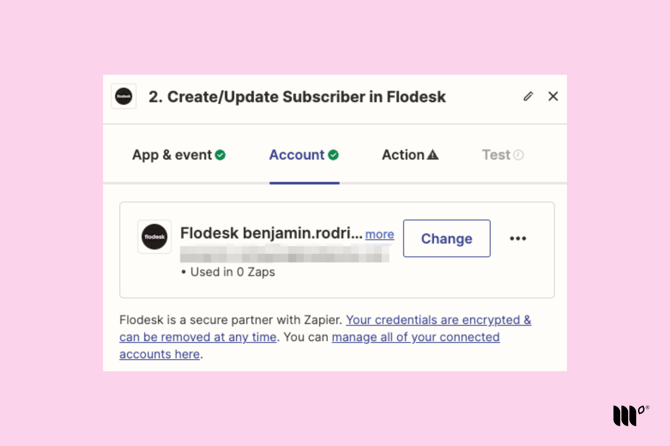
Step 7: Choose your account for the action app. You may need to log in or adjust a few settings here, which differ for each app. Follow the prompts, then click Continue.
Step 8: Follow the prompts to finish setting up the action. Many Email Service Providers ask you to match data fields so subscriber information is passed correctly.
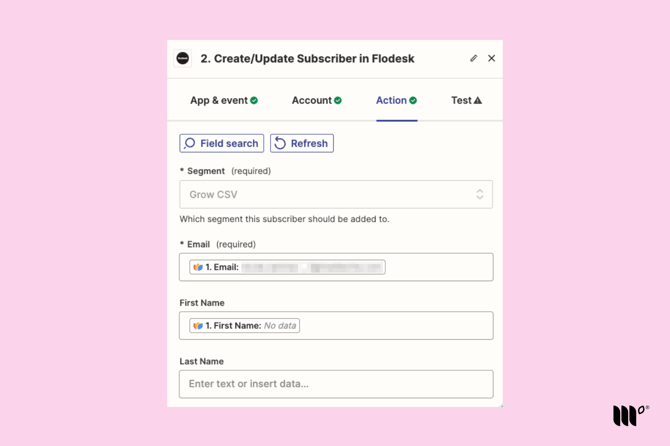
Click Continue.
Step 9: Test the action step.
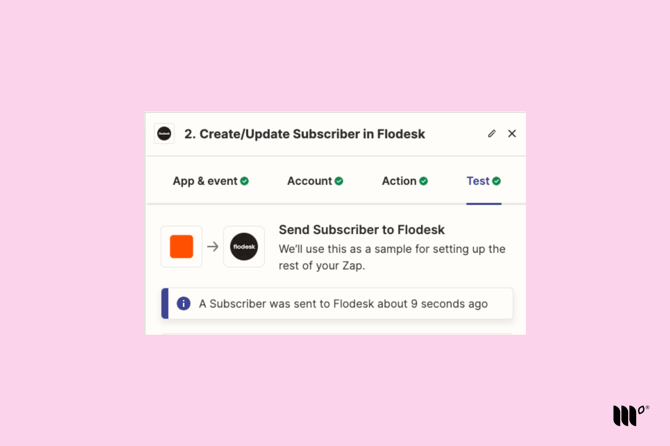
When the test succeeds, click Publish. Your Zap is now live!
Having trouble? See Zapier FAQ.
*Exclusive Content is a legacy tool only available to publishers who used it before Grow became Tools in November 2026.